
Have you ever paused before tossing those kitchen scraps and wondered if you could get another meal out of them?
Growing food from scraps doesn’t require a big garden or fancy equipment—you just need curiosity and a sunny windowsill.
If you want to stretch your grocery budget, waste less, and get fresh greens right at home, these simple methods can help you start.
Let’s dive into the easiest ways to regrow vegetables and herbs from leftovers. Ready to bring life back to what you’d usually throw away?
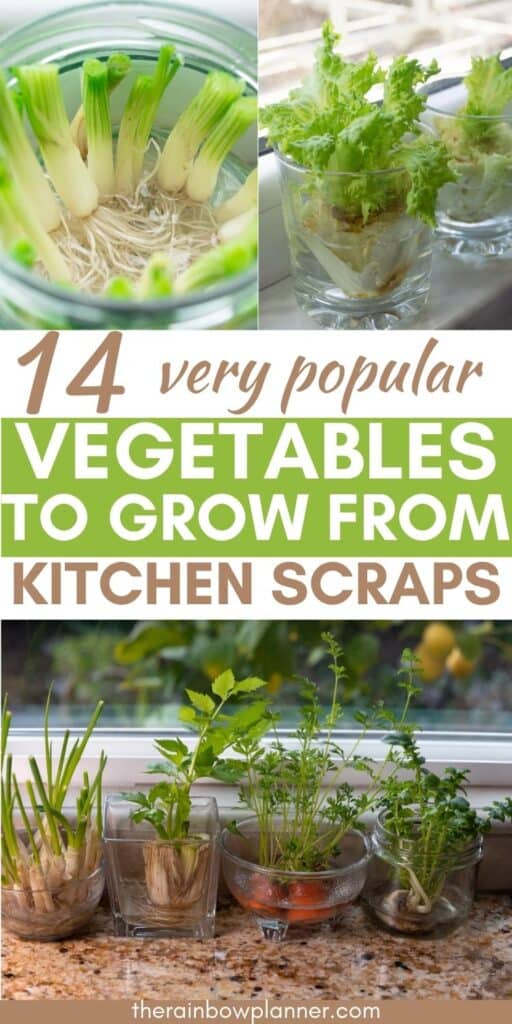
1. Green Onions

Green onions shoot up fast and thrive in small spaces, making them the easiest starter for growing food from scraps.
Save the bottom inch or two after cooking. Stand the roots in a glass of water, roots down, and set them in sunlight.
Change the water every other day. Within a week, you’ll spot new shoots reaching upward.
Once the greens get tall, snip what you need and keep the roots in water for a steady supply. For bigger harvests, plant rooted onions in soil and keep the soil moist.
2. Lettuce
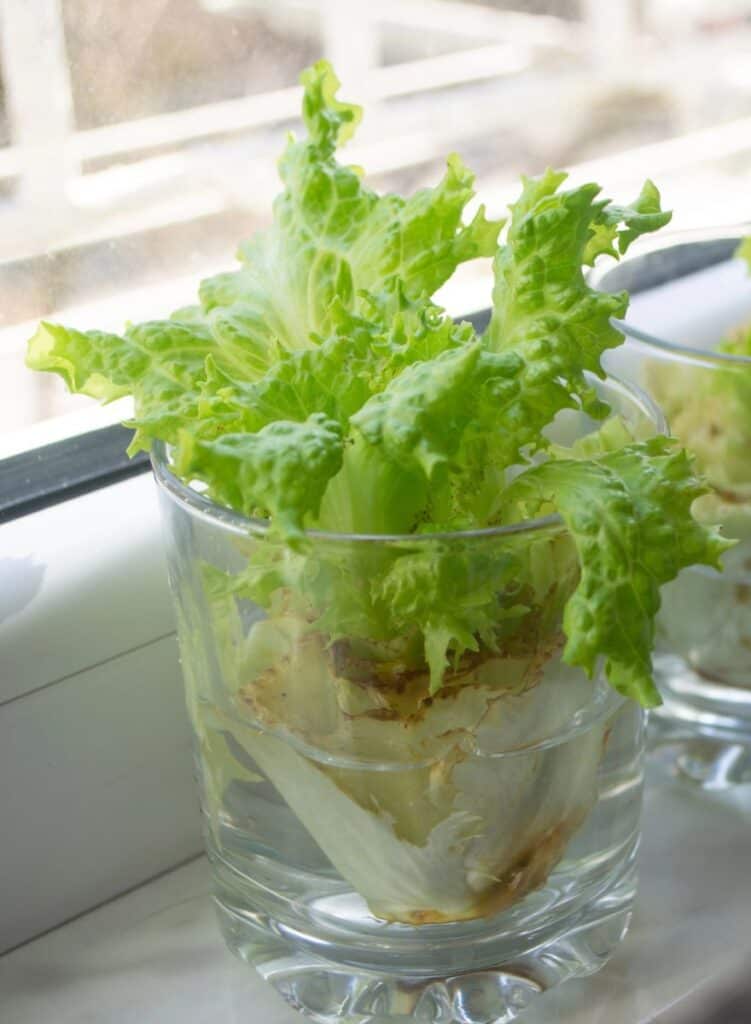
Lettuce scraps respond quickly, rewarding you with crisp leaves. Hold onto the base of your lettuce head and set it, cut side up, in a shallow bowl of water.
Place it near a window with good light, but avoid harsh direct sun. Change the water every two days to keep it fresh.
Small, bright leaves will begin growing from the center in under a week.
To help your new lettuce last, move it to a small pot of soil once roots form. Water when the soil feels dry and enjoy healthy greens for salads and sandwiches.
3. Celery
Celery bases often get tossed, but they can grow again easily. Keep the root end and place it upright in a shallow bowl with water just covering the bottom.
Put it on a sunny windowsill. In just a few days, you’ll see new greens appear in the middle. Refresh the water regularly.
Once roots and leaves are strong, transplant to a pot of soil if you want steady growth. Keep the soil damp and let it get plenty of sun. You’ll have a fresh supply for soups and snacks.
4. Garlic
Don’t let sprouted garlic go to waste. Plant a single unpeeled clove, pointed side up, about an inch deep in moist potting soil.
Place the pot in a sunny spot and keep the soil just damp. Fresh green shoots will appear soon. When the tops turn brown, you can dig up the new bulbs or use the tender greens as garlic chives.
5. Potatoes
If you find potatoes with “eyes” sprouting, you’re ready to grow more. Cut the potato into chunks, each with at least one sprout, and let them dry for a day.
Bury the pieces about four inches deep in a tub with good soil and drainage, eyes up. Water well and put the container in a sunny area.
Shoots will come up in days. When stems grow tall, add more soil around them to spur tuber growth.
6. Carrot Tops
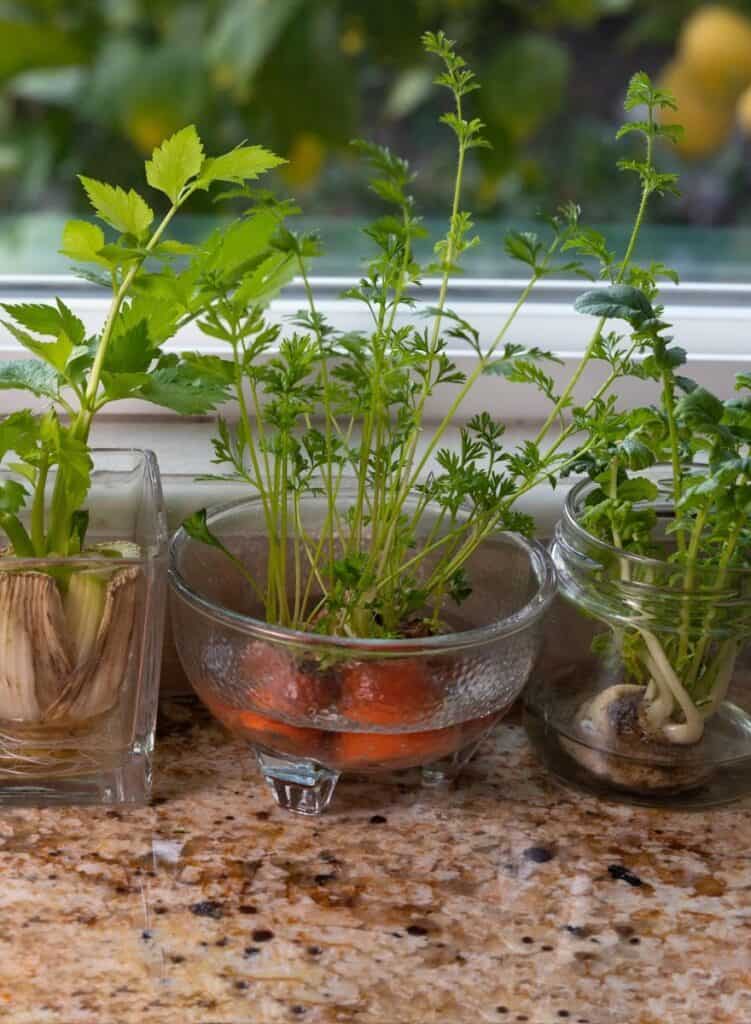
You can’t regrow a full carrot, but the tops give you tender greens that add flavor. Cut off the top inch of a carrot and place it cut-side down in a shallow dish of water.
Set it in indirect sunlight. Change the water every two days. Lush green leaves will sprout within a week. Use these as garnish, in salads, or as a treat for pets.
If you want the greens to last longer, plant the rooted top in soil.
7. Ginger
Ginger regrows from leftovers with ease. Choose a fresh knob with visible buds. Soak it overnight if it looks dry.
Plant the piece about an inch deep in moist, rich soil with the buds facing up. Place the pot in a warm, bright spot but out of direct sun.
Water lightly. In a few weeks, you’ll see fresh shoots. Ginger grows slowly, but it’s worth the patience for that homegrown flavor.
8. Basil and Soft-Stemmed Herbs
Don’t toss leftover basil stems. Place a four- to six-inch stem in a glass of water, keeping leaves above the water line. Set the glass on a sunny windowsill and swap the water every couple of days.
Roots will show in about a week. Once they’re an inch or two long, plant the cutting in a pot. Water when soil feels dry and watch your basil thrive.
This method also works for herbs like mint, parsley, cilantro, thyme, and oregano. Trim lower leaves, root stems in water, and then move to soil for weeks of fresh snipping.
9. Pineapple
Save the leafy crown after slicing a pineapple. Remove any fruit and the lowest leaves to reveal tiny roots.
Let the crown dry for a day, then set it in water so only the stem bottom touches. Stand it in a sunny, warm spot, and change water often.
Once roots stretch out, plant the crown in soil. Pineapples take time, but their spiky leaves bring a fun, exotic touch to your home.
10. Sweet Potatoes
Don’t ditch sprouting sweet potatoes. Stick toothpicks around the middle and suspend in a glass with the bottom in water. Place it in a sunny spot.
Shoots (slips) will grow in a couple of weeks. Once slips reach five inches, twist them off and root them in a new glass of water.
Plant in soil when roots are an inch long, either outside or in a roomy pot. Water when soil dries out and watch as vines fill out.
11. Avocado Pits
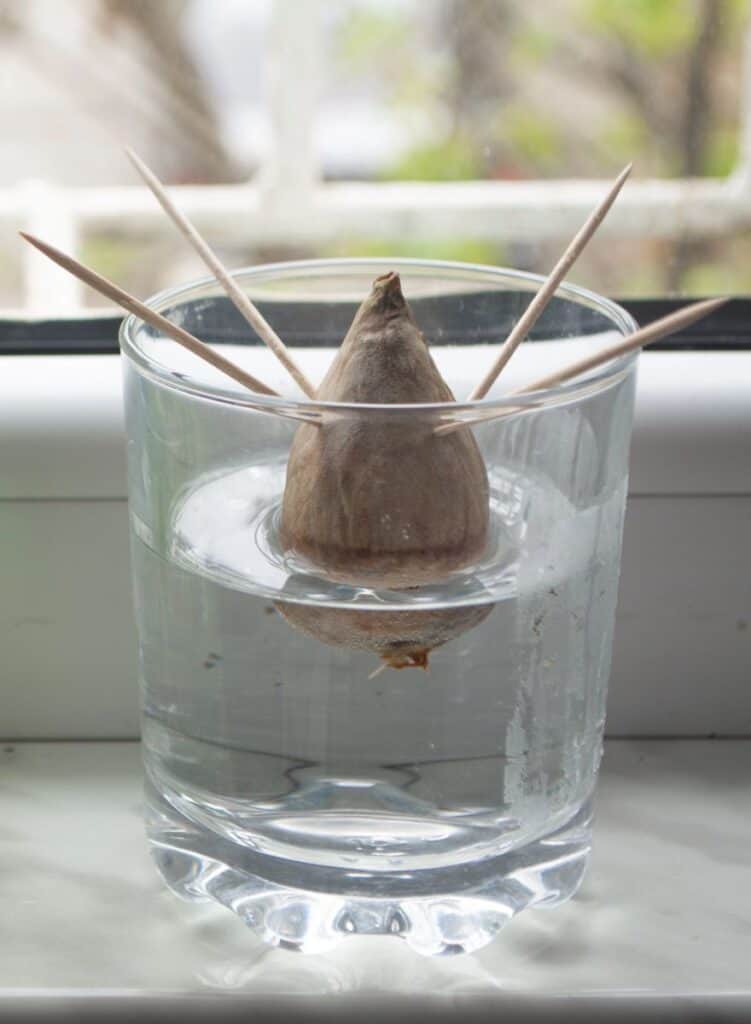
After enjoying an avocado, clean the pit and let it dry. Use toothpicks to balance it over a glass of water, broad side down and half submerged.
Place in a warm, bright spot. Change water twice a week. In four to six weeks, roots and a stem will appear.
When the stem is six inches tall, trim it for bushier growth, then plant the pit in soil with half above the surface. Keep the soil moist but not soggy.
12. Lemon Seeds
After squeezing lemons, pick out several plump seeds. Rinse away pulp and peel off the outer coat if you want quicker sprouting.
Push seeds half an inch deep into damp potting soil in a small pot. Let the pot sit on a sunny windowsill and keep the soil moist.
In a few weeks, bright green seedlings will appear. While fruiting takes time, the fragrant leaves and hint of citrus brighten any space.
13. Beet Tops
Instead of tossing beet tops, use them for homegrown greens. Keep the top inch of the beetroot. Place it cut-side down in a shallow dish with just enough water to touch the bottom.
Put it in a bright spot and change the water often. New leaves will sprout quickly. Transfer rooted tops to soil if you want larger, more frequent harvests.
14. Leeks
Leeks offer a gentle onion taste and regrow just like green onions. Slice off the bottom two to three inches with roots and set upright in a jar of water.
Place by a sunny window and change water every other day. New leaves will shoot up fast. Move rooted bases to soil for stronger growth and longer harvests.
Keep roots damp and add a little fertilizer for extra vigor.
Tips For Growing Food From Scraps
Starting with easy vegetables like green onions, celery, or lettuce builds confidence.
These scraps show quick progress and keep you motivated. Work with water rooting first. Once you see healthy roots, move to soil for better harvests.
Clean water and containers are key. Rinse scraps before water rooting, use clear jars to watch roots, and replace water every day or two.
Plants thrive with enough light. A sunny windowsill works, or try a grow light. Rotate containers so all sides get even light. Keep an eye on delicate greens—midday sun can dry them out.
Patience matters. Sometimes growth is slow, especially indoors or in cool rooms. Celebrate small steps: new roots, fresh leaves, or a single salad’s worth of greens.
Take photos to track progress, and use a journal or habit tracker for watering and transplanting.
Once scraps root in water, move most to soil for strong, long-term growth. Use clean, well-draining soil and water only when it starts to dry. If growth slows, add a little compost or plant food.
Not every scrap will sprout. If mold appears or nothing happens, try again with a fresh piece. Over time, you’ll learn which scraps work best in your kitchen.
Final Thoughts
Growing food from scraps is one of the easiest and most rewarding habits you can start. It helps you waste less, save money, and enjoy the feeling of watching something new grow from leftovers.
You don’t need much space or experience. Choose one scrap this week, set it in water, and watch what happens.
Every new shoot and root reminds you that fresh food is within reach, even from yesterday’s trash.
Celebrate your progress, share your results, and inspire others to join you. Your kitchen can become a small garden, and every step counts.