
Sticky, stubborn grease can turn kitchen cabinets into a magnet for grime, especially above the stove, where cooking splatters often build up unnoticed.
If you haven’t cleaned these surfaces in a while, it’s common to feel frustrated or unsure where to start.
Getting the cabinets truly clean, though, doesn’t have to risk damaging their finish.
In the following sections, I’ll lay out safe, proven methods to break down thick grease and show practical kitchen cleaning hacks that actually work.
With a few trusted approaches, anyone can restore their cabinets’ shine and keep them looking fresh for the long haul.
Why Cabinets Get So Greasy Over Time

Photo by cottonbro studio
Cooking is the main culprit when it comes to greasy kitchen cabinets.
Even if you’re careful, the simple act of frying bacon, sautéing onions, or simmering a sauce sends tiny droplets of oil and steam into the air. Here’s how the buildup sneaks up on you:
- Oil particles: As fat heats up, it vaporizes and settles on surfaces, particularly those above the range.
- Steam and humidity: Boiling or steaming sends moisture mixed with tiny grease droplets into the air. These eventually land on cabinets, where they cool and stick.
- Poor ventilation: Without a strong exhaust fan or regular use of a range hood, airborne oils linger in your kitchen. Over weeks or months, these particles settle onto cabinet surfaces, creating a sticky film that’s tough to remove.
- Food splatters and hands: Grabbing a cabinet with greasy hands or letting sauces splatter from pots leaves direct residue behind.
How To Determine Your Cabinet’s Finish Before Cleaning
Before trying any cleaning hack, it’s important to identify your cabinet’s finish.
Why? Because aggressive cleaners or scrubbing pads can damage wood, fade paint, or discolor other materials.
I always recommend checking the finish so you can match your method to your surface.
Here’s a quick guide to help you figure out what kind of cabinets you have:
- Painted Surfaces: These usually have a smooth, solid color with a slightly glossy or matte sheen. If the color looks uniform and you can’t see any wood grain, it’s likely painted.
- Stained Wood: You’ll see natural wood grain patterns coming through the color. Stains tend to soak into the wood, sometimes leaving a clear protective layer on top.
- Laminate or Veneer: These surfaces feel more like plastic and often have a repeating pattern or print. They’re smooth and wipe clean easily, but can peel at the edges.
- Other Finishes: Some cabinets are coated in clear shellac, lacquer, or polyurethane. These finishes have a hard, glossy feel.
Why does this matter?
Certain finishes, like painted or stained wood, need gentler treatment—think diluted dish soap and soft microfiber cloths. Laminate can handle a bit more scrubbing, but harsh chemicals still risk damage.
Essential Supplies And Safety Steps For Grease Removal
Before you tackle thick, sticky grease on your kitchen cabinets, gathering the right supplies and setting up a safe work area will save time and stress later.
It’s tempting to grab the first thing under the sink, but using proper tools protects both you and your cabinets’ finish. Here’s how I approach grease removal efficiently and safely.
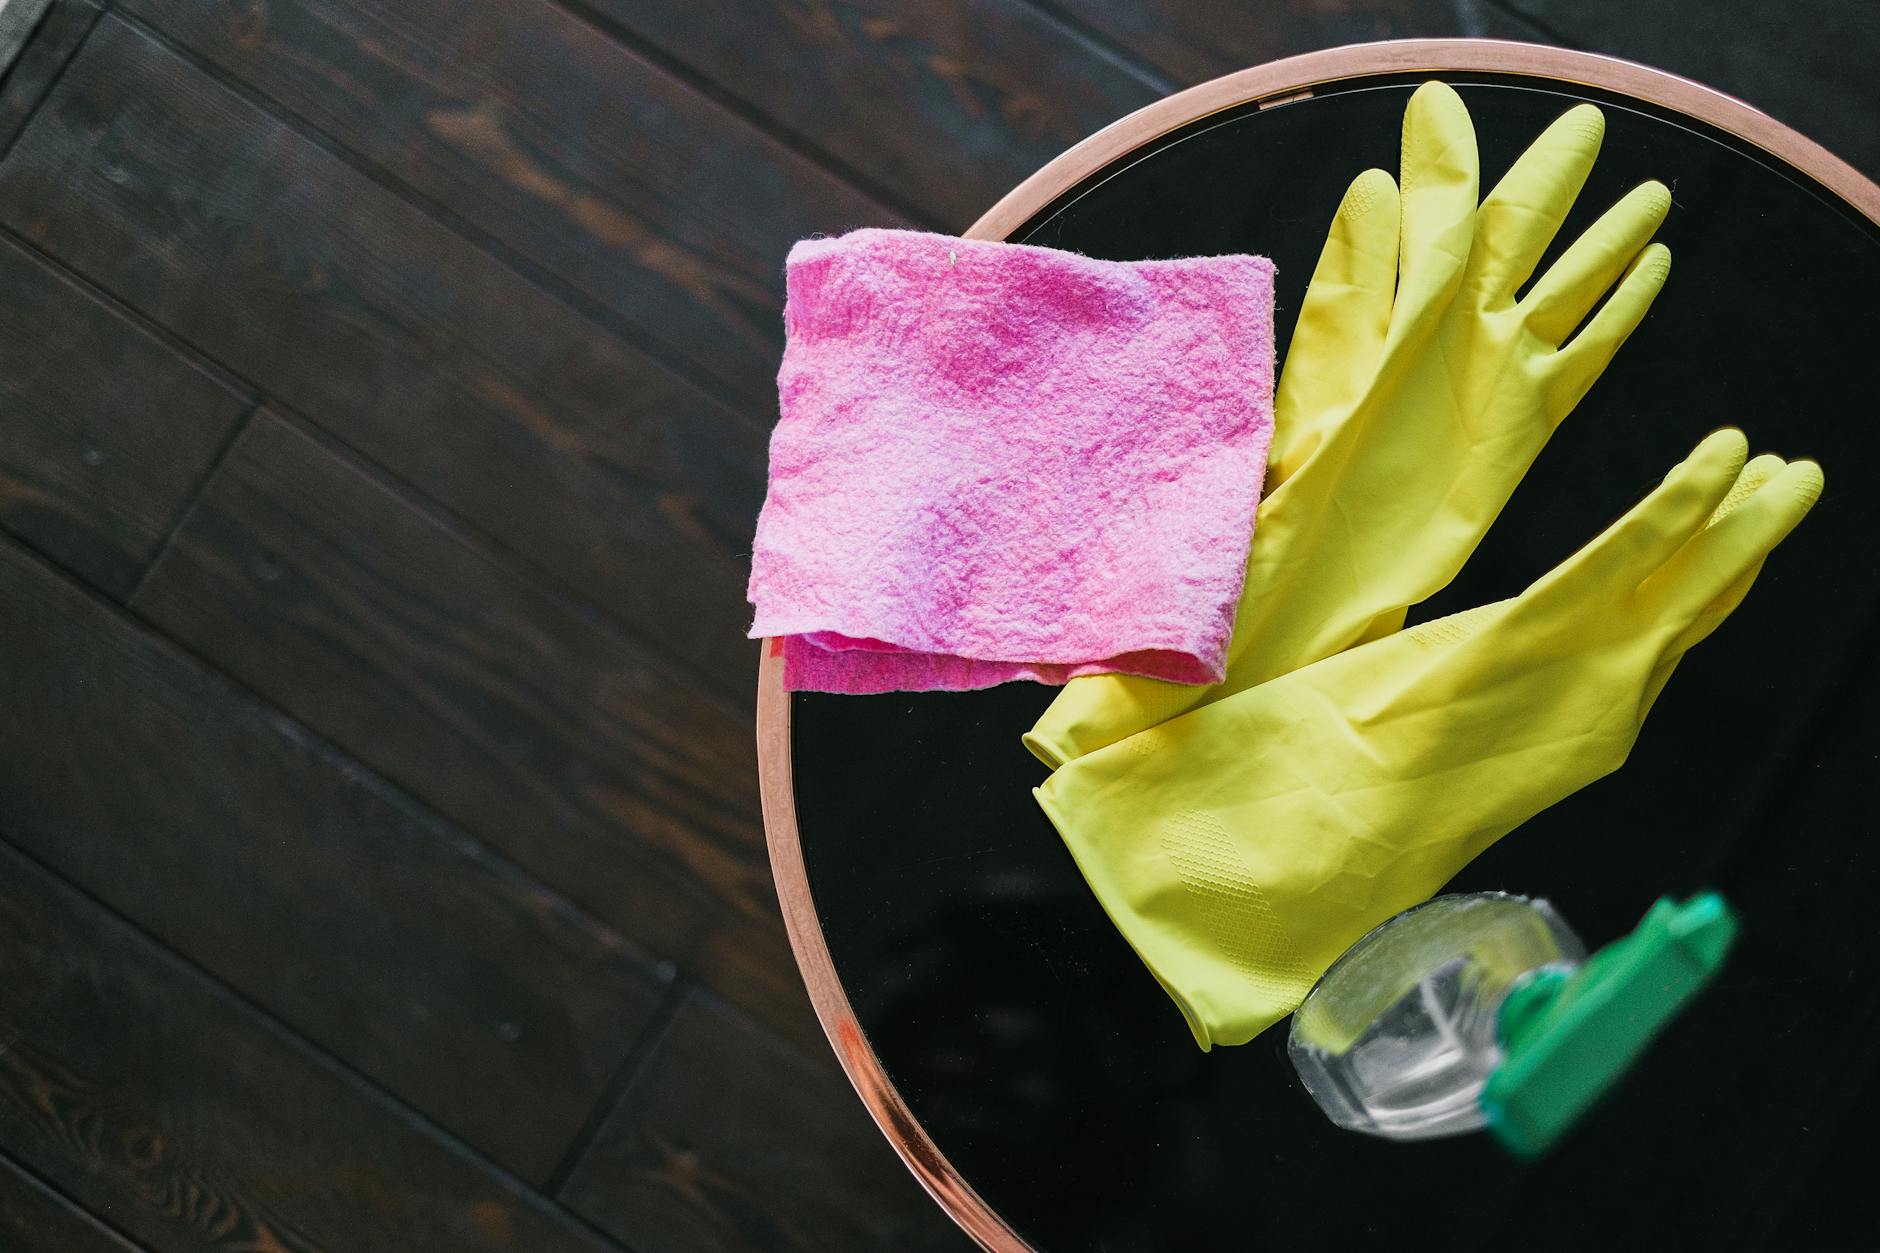
Photo by SHVETS production
Must-Have Supplies for Cleaning Greasy Cabinets
Stubborn grease calls for targeted cleaning supplies that cut through residue without harming surfaces. For anyone learning how to clean greasy cabinets, I suggest keeping these items in your cleaning caddy:
- Gentle, grease-cutting dish soap: Look for a soap known for breaking down oils, like Dawn.
- Warm water: Essential for dissolving sticky buildup, but not so hot it softens paint or finish.
- Microfiber cloths or soft sponges: These trap oil without scratching delicate surfaces.
- Old toothbrush or soft-bristled brush: Great for cleaning detailed trim and corners.
- Baking soda: Mildly abrasive, it’s excellent for treating extra-stubborn spots.
- White vinegar: Mixed with water, it helps break down old grease, but use with caution on wood.
- Spray bottle: Useful for applying homemade cleaning solutions evenly.
- Rubber gloves: Protect your skin from drying out or reacting to cleaning agents.
Safety tip: Be sure to unplug nearby appliances, lay old towels or newspapers to protect countertops, and in doubt, spot test the cleaning solution on a hidden section of the cabinet.
Step-By-Step Process: How To Clean Greasy Cabinets Without Damage
Over the years, I’ve learned how intimidating thick kitchen grease can feel, especially if it’s built up on cabinets above the stove.
The good news?
Getting clean cabinets is completely within reach—you just need the right cleaners, safe scrubbing methods, and patience.
In this section, I break down the best step-by-step techniques for how to clean greasy cabinets without harming their look or finish.
Whether you’re dealing with a light film or years of stubborn grime, these methods help restore cabinets to their best.
1. Gentle Grease-Cutting Solutions For Light Buildup
For new or light grease, aim for a soft touch. Harsh scrubbing isn’t just unnecessary—it can leave dull patches or scratches, especially on painted or stained wood.
My go-to process:
- Mix a few drops of a grease-cutting dish soap (like Dawn) in a bowl of warm water.
- Dip a microfiber cloth or soft sponge into the soapy water, wring it out until damp but not dripping.
- Wipe the greasy surface gently, working with the grain if you have wood cabinets.
- For rounded trim or crevices, use a soft-bristled toothbrush dipped in the same solution.
- Follow up by wiping the area with a clean, damp cloth to pick up any soap residue.
For extra shine or to tackle a slightly tacky feeling, try a simple vinegar solution (equal parts white vinegar and warm water).
Be cautious with vinegar on natural wood, as repeated use can dull the finish over time. Always spot-test first.
2. Removing Thick, Stubborn Grease Safely
When you’re up against thick, sticky layers—often found above the stove or on cabinet pulls—it helps to take a more focused approach.
Here’s how I tackle the heaviest buildup without damaging cabinets:
- Sprinkle baking soda directly onto a damp sponge or cloth.
- Gently press the baking soda onto the greasy area. Let it sit for 2–3 minutes to soften the grease.
- Rub softly in a circular motion. The mild abrasiveness of baking soda lifts residue while being gentle on most finishes.
- For neglected cabinets, make a paste with baking soda and water, or swap to a mixture of 2 parts vinegar and 1 part olive oil to dissolve grime and restore shine. This trick works especially well on wood surfaces, helping to clean and hydrate at the same time.
Caution: Never use steel wool, magic erasers, or anything abrasive on painted exteriors, as these can scratch or thin the protective finish.
Other Popular Kitchen Cleaning Hacks That Really Work
Greasy cabinets are the bane of any cook’s kitchen, especially when thick buildup refuses to budge with basic cleaning.
Over the years, I’ve tried just about every shortcut and creative idea out there.
Let’s focus on several reliable tricks that actually get results while keeping your cabinet surfaces protected.
These approaches use everyday supplies, save time and money, and help restore shine—no harsh chemicals needed.
3. The Baking Soda and Dish Soap Paste
Combining baking soda and dish soap is a classic, and for good reason.
Baking soda adds just enough grit to tackle sticky grime, while dish soap breaks down grease at the source.
Here’s how I use it on cabinets that need serious help:
- Mix equal parts baking soda and a quality grease-cutting dish soap (Dawn or similar) in a small bowl.
- Add warm water gradually until it forms a thick, spreadable paste.
- Using a soft, clean cloth, scoop up some paste and rub it onto greasy spots in gentle circles.
- Let it sit for five minutes, then wipe off with a damp microfiber cloth.
This trick safely disrupts stubborn buildup without harming paint or wood.
The bonus? If you have cabinet pulls or trim with fine detail, a soft toothbrush works the paste into grooves easily.
4. Olive Oil: A Secret for Extra Thick Grease
If regular cleaning hacks haven’t touched old, sticky patches, sometimes adding a small amount of olive oil can soften dried-on grease.
It sounds counterintuitive—using oil to beat grease?—but it works because oil dissolves oil.
- Dab a bit of olive oil onto a clean cloth (microfiber works best).
- Gently rub the greasy area, allowing the oil to loosen the buildup.
- Wipe away residual oil and grime with a solution of dish soap and warm water.
Follow up with a dry cloth for a clean, natural shine on wood cabinets.
5. Ammonia Solution for Heavy-Duty Cleanup (Caution Needed)
On some older cabinets, years of ignored grease may need more muscle. Ammonia, when diluted with hot water, can break through nearly anything.
I recommend this only for non-wood, non-painted surfaces or cabinets that haven’t responded to anything else:
- Mix a bucket of hot water with up to a cup of ammonia and a squirt of dish soap (wear gloves and ventilate the area).
- Dip a cloth into the mixture and wring out well.
- Wipe the cabinet, working section by section, then rinse off with warm water.
Ammonia is strong, so open windows and protect your hands with gloves.
Always test a hidden spot before using on visible surfaces.
6. Salt: The Kitchen Staple that Scrubs Without Scratching
If a pasty residue clings around handles or corners, ordinary kosher salt can add safe abrasion.
- Sprinkle a bit of salt onto a damp sponge, then rub gently onto sticky surfaces.
- Rinse with a clean cloth dipped in warm water.
Salt crystals are large enough to scrub, but soft enough to avoid damaging finishes.
Just be sure to dissolve and remove all excess, as salt left behind can attract moisture.
The Right Way To Scrub And Rinse Cabinets
Technique matters. Once you’ve chosen a safe cleaning solution, scrubbing with the right motion ensures you remove grease without damaging your cabinets.
- Start at the top of the cabinet and work downward, so drips don’t mess up already cleaned spots.
- Always scrub in the direction of the wood grain if visible.
- Use small, circular motions for tough patches, but don’t bear down—let the cleaner do the work.
- For greasy corners, cabinet pulls, and grooves, use an old toothbrush or a soft detail brush.
- When finished, rinse surfaces with a clean, damp microfiber cloth to remove leftover cleaner or residue.
Skipping the rinse step can leave streaks or sticky spots that collect new grime fast. If you see lingering haze, wipe again with a cloth dampened in plain water.
Similar Article You May Like:
All The Best Amish Housekeeping Tips And Tricks
Best Ways To Organize Your Kitchen Cabinet to Maximize Space
How To Store Fruits And Vegetables In a Refrigerator The Right Way
24 Best Cleaning Hacks From Professional Cleaners To DIY
Maintaining Grease-Free Cabinets: Prevention Tips
Keeping your kitchen cabinets clean isn’t just about deep cleaning every few months. Prevention saves time and protects your finish, making the next cleaning job faster and less stressful.
Taking proactive steps turns tough scrubbing sessions into simple wipe-downs.
The good news is that most steps are easy to include in your daily or weekly kitchen habits.
 Photo by Max Vakhtbovycn
Improve Kitchen Ventilation
Good ventilation is the first line of defense against sticky cabinets. Every time you cook, airborne oils float around and settle where you least want them.
Using your range hood or exhaust fan during every stovetop session pulls grease particles out of the air before they have a chance to settle.
Cook Smarter to Minimize Grease
Changing just a few habits at the stove can keep cabinets from getting sticky in the first place.
- Always use a lid or splatter screen while sautéing or frying.
- Try lowering the heat to prevent fat and oil from popping.
- Wipe down splatters immediately after cooking, before they dry.
Adopt a Frequent Wipe-Down Routine
Consistent, small efforts trump once-a-year scrubbing. Even a quick wipe-down helps you avoid the toughest grease jobs.
Keeping cleaning wipes or spray bottles nearby makes this habit easy.
Monitor and Protect High-Risk Areas
Some cabinets attract more grease than others, especially those above and beside the stove. It helps to guard these “splash zones” with a bit more attention.
Use a backsplash protector that’s oil-proof if that’s an area of concern.
Choose the Right Cleaning Products
Harsh cleaners work fast, but they can damage your cabinet’s finish. Sticking with gentle but effective products makes each wipe-down safe.
If you need more details on gentle options, Cabinet Care: 10 Steps to Maintain Your Cabinets offers a helpful checklist.
Don’t Forget the Details
Often, hardware and edges collect as much grease as the doors themselves.
- Wipe cabinet handles and trim regularly.
- Pay extra attention to grooves and edges, where sticky residue likes to hide.
Taking small actions now keeps cabinets shining and cuts down on the battle against heavy grease later. Prevention isn’t just easier—it protects your home and saves you hours each year.
Final Thoughts on Cleaning Hacks for Greasy Kitchen Cabinets
Cleaning greasy cabinets may look like a chore you want to avoid, but with the right steps, it turns into a task you can tackle confidently.
Identifying your cabinet finish first protects against damage while using gentle cleaners and soft cloths ensures surfaces stay unharmed.
Key hacks—like a gentle baking soda paste, a touch of olive oil for thick grease, or routine damp cloth wipe-downs—strip away years of buildup.
These methods not only remove existing grime, but they also extend the life and look of your cabinets.
I always find that combining simple solutions with regular attention pays off far more than harsh chemicals or rushed scrubbing.
If you want even more ways to streamline your weekly routine, explore my free weekly cleaning checklist for a simple system that fits any busy schedule.